How to sew a children's handbag from old clothes
by 05.10.2012 07:50 7 709 views 0
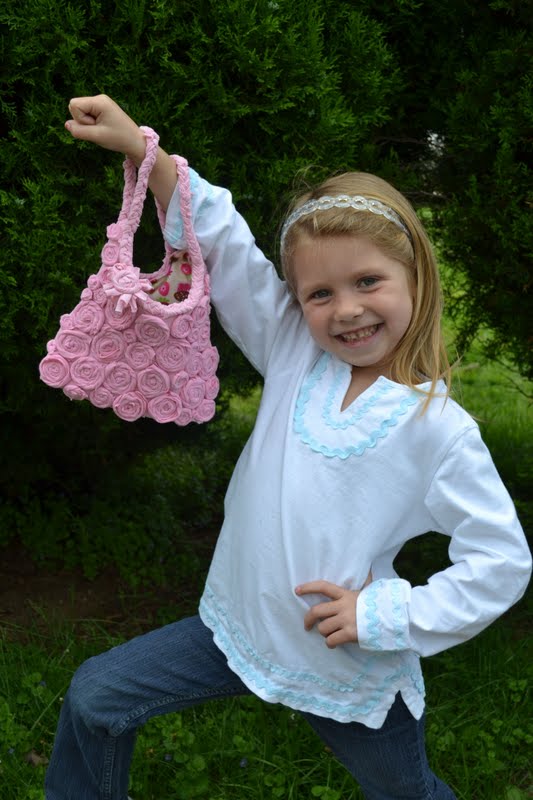
Don't know how to please your daughter. Make for her, or better with her, a handbag from an old T-shirt.
Children grow up, and you are left with mountains of unnecessary clothes. It is in your power to give these clothes a second life. If you still decide on such an adventure, then we offer a project that will not take much time and will not require additional costs from you. All you need is a couple of unnecessary baby items, glue and sewing supplies.
Consider the process of sewing a handbag in stages:
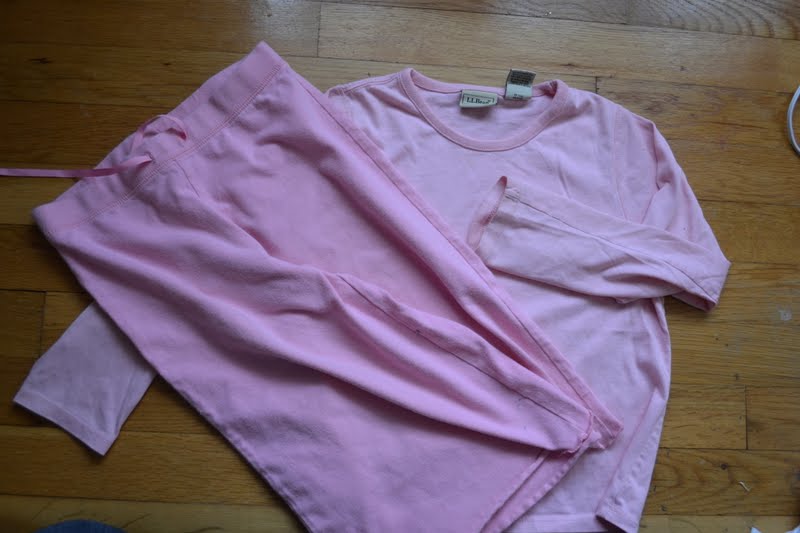
1. Select a couple of items from old children's clothes that will become the fabric for the handbag. For example, pajamas are suitable, which consists of a blouse with long sleeves and panties. You can take just 3 T-shirts or 2 T-shirts and pants. It will be even more interesting if they differ in color and texture.
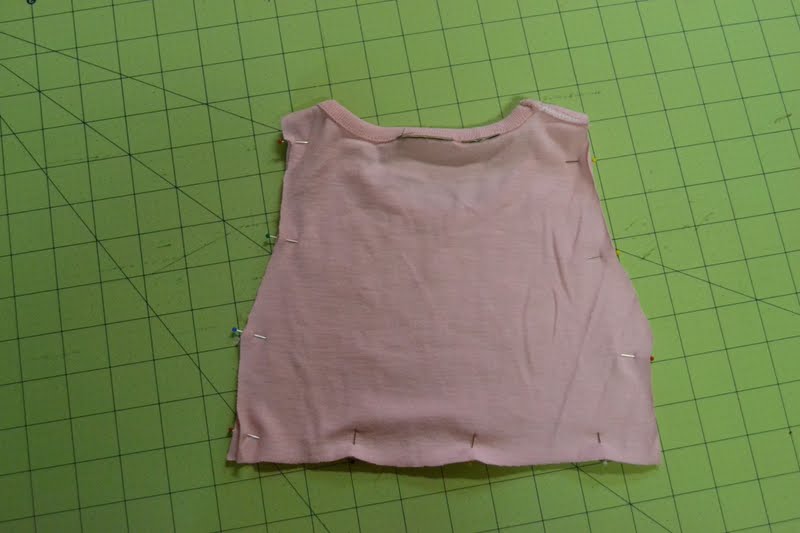
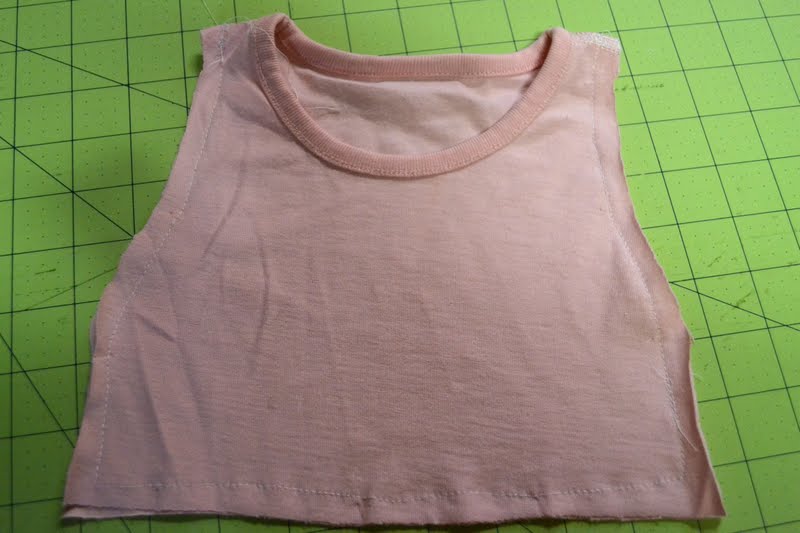
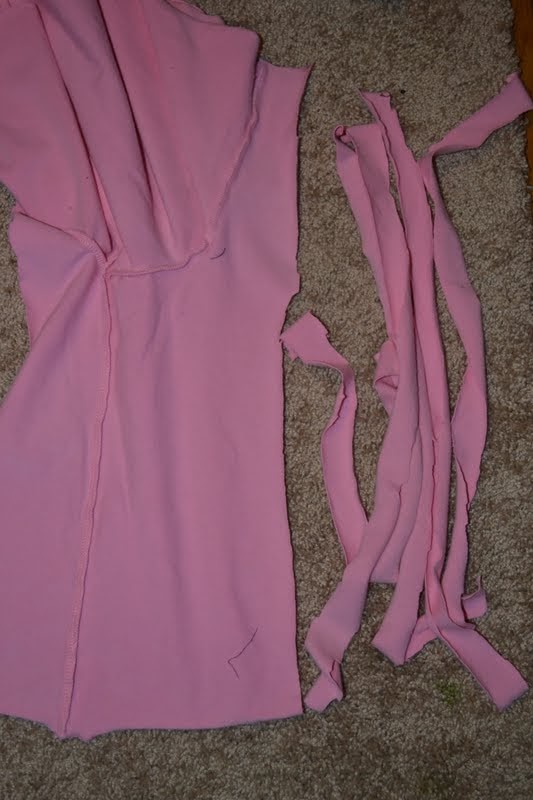
2. Now our task is to decide on the size and shape of the bag. Therefore, take scissors and cut off the sleeves, shorten the bottom, cut off the excess from the sides until you get something like this.
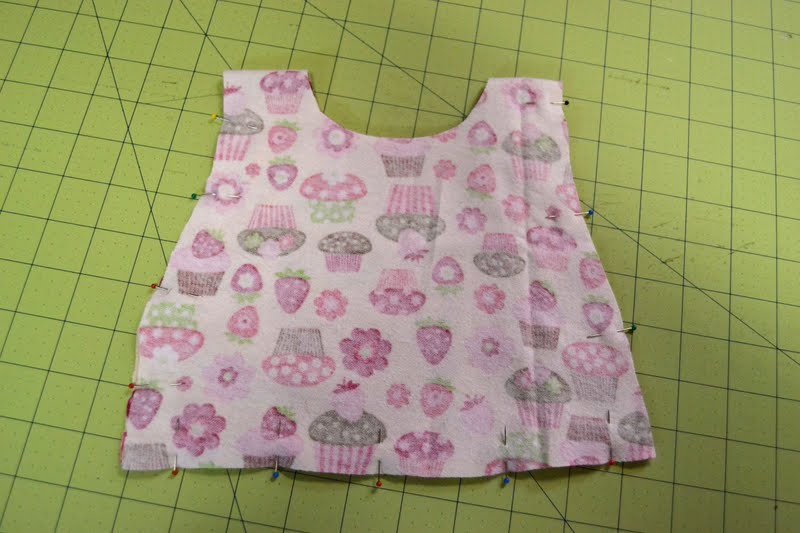
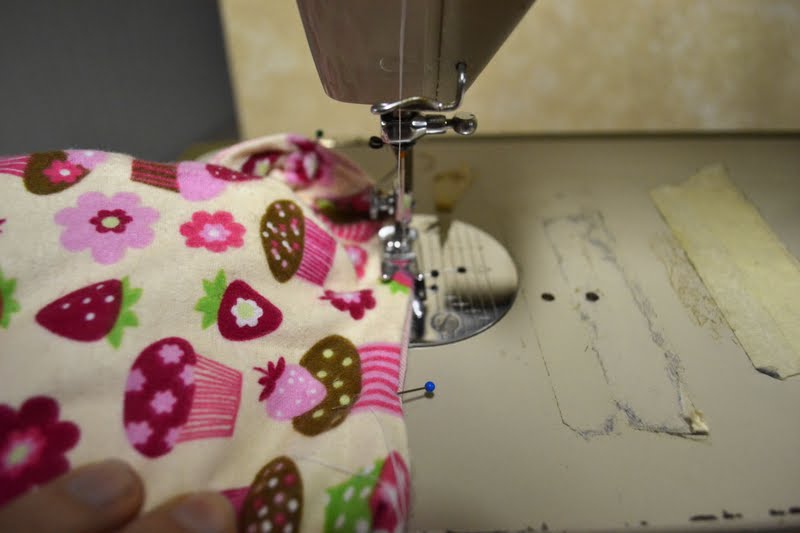
3. Pin the back and front parts together, with the front sides inside. Now you can sew on a sewing machine, leaving only the neck untouched.
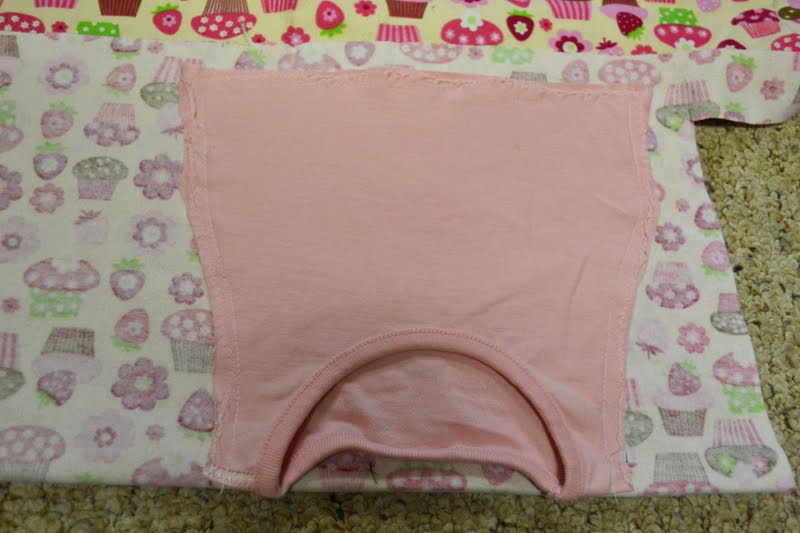
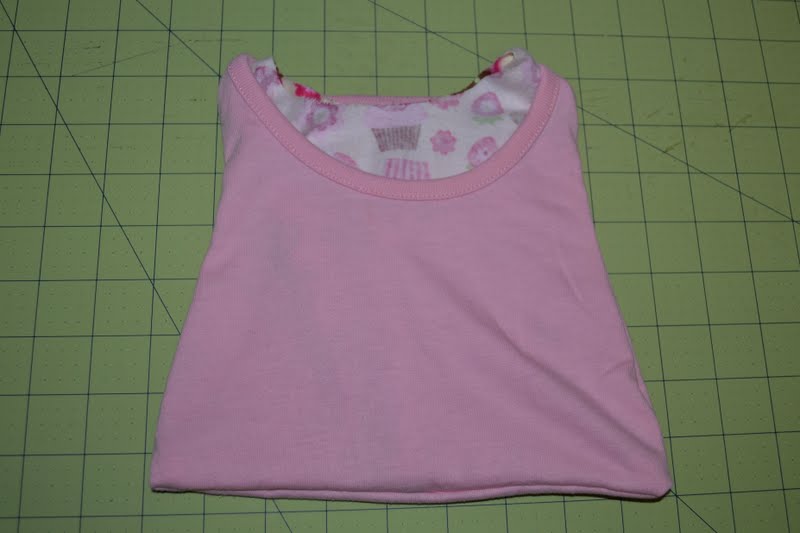
4. Choose the fabric for the lining. In order to match the size of the lining to the product, you should use a sample. They will be an already sewn handbag made of pink pajamas.
5. Put the sample on the fabric and cut it off. The size of the semicircle at the top of the fold will change later.
6. We sew the lining in the same way as we did the first part.
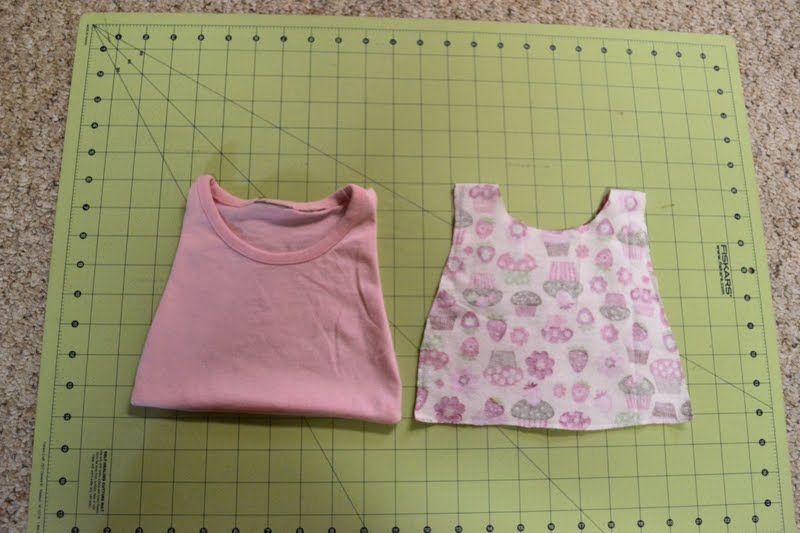
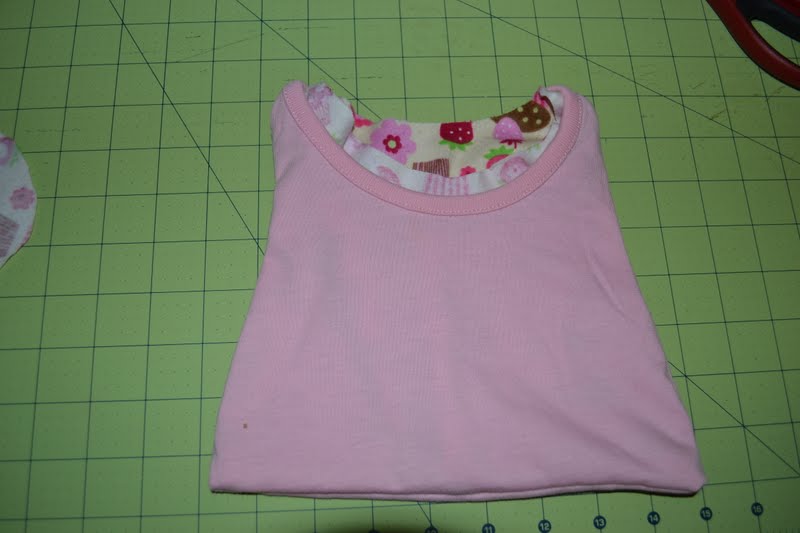
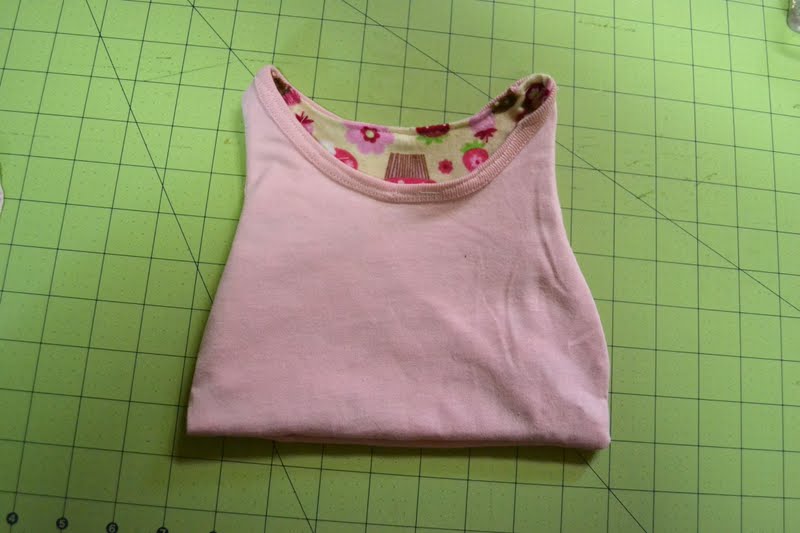
7. Both the outer part of the handbag and the lining for it are now ready.
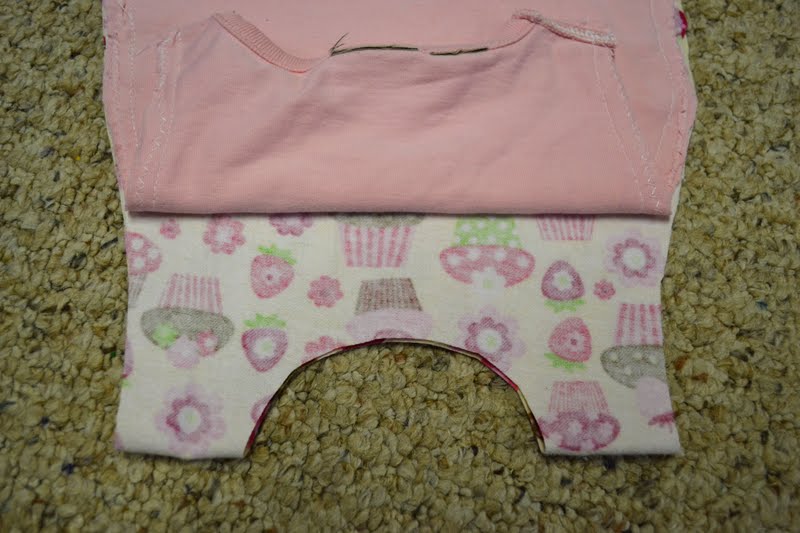
8. Insert the lining into the outer part. Now you need to trim the lining, since the neckline is deeper on one side.
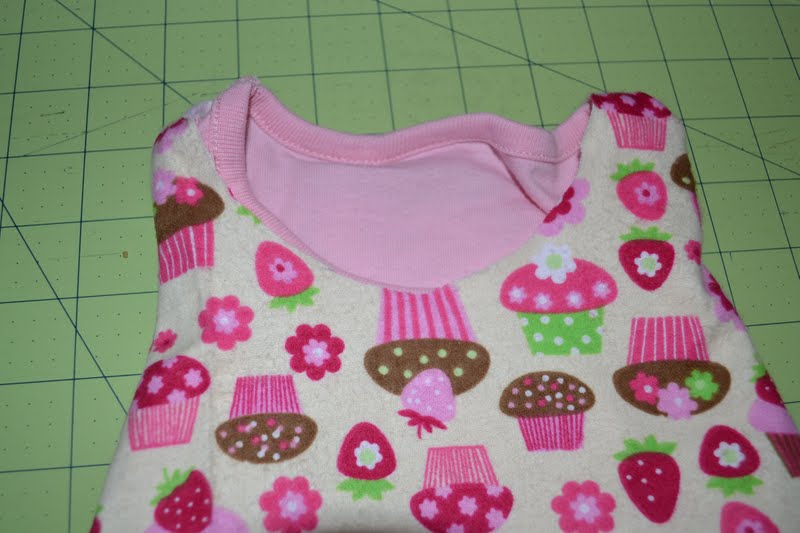
9. Cut off the lining fabric so that it exceeds the neck of the product by only 1-1.5 cm.
10. Turn the bag inside out. You are now looking at the front side of the lining.
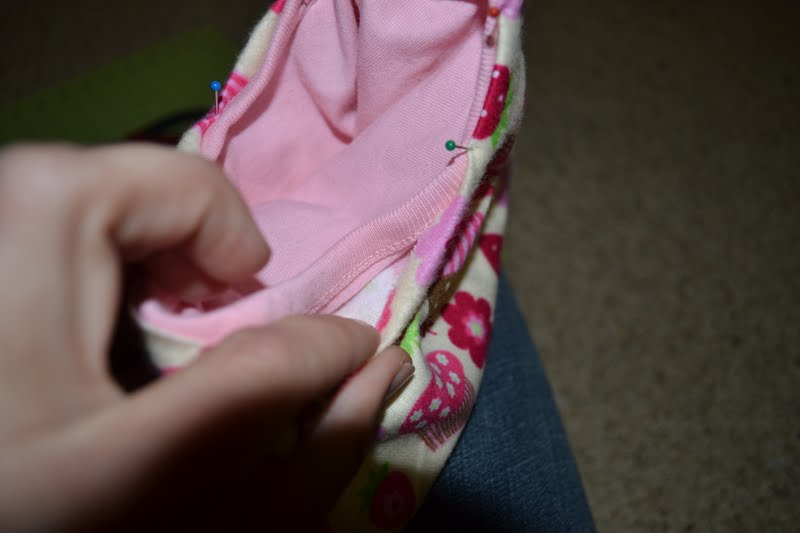
11. Fold the edge of the lining 1-1.5 cm and pin it around the neckline of the blouse. Note that the edge of the lining should be slightly lower than the neckline of the blouse that the outer piece is made of.
12. Sew the lining as close to the edge as possible.
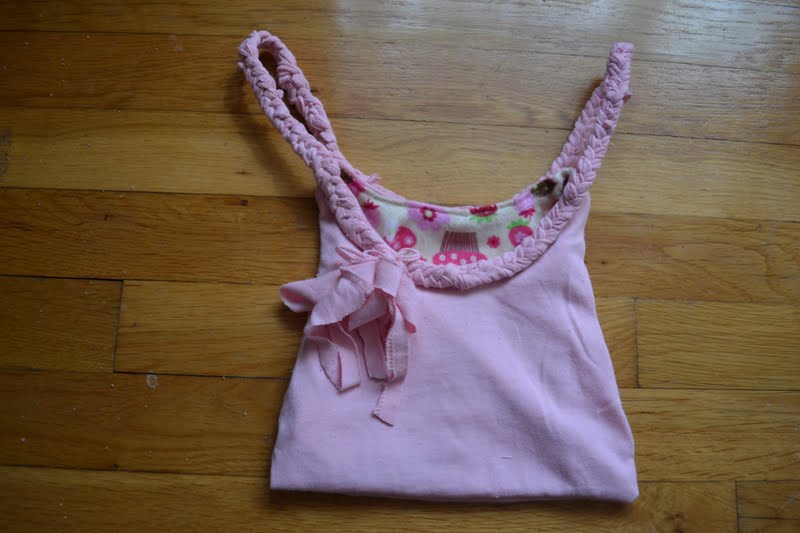
13. The handbag is almost ready. It's time to start decorating.
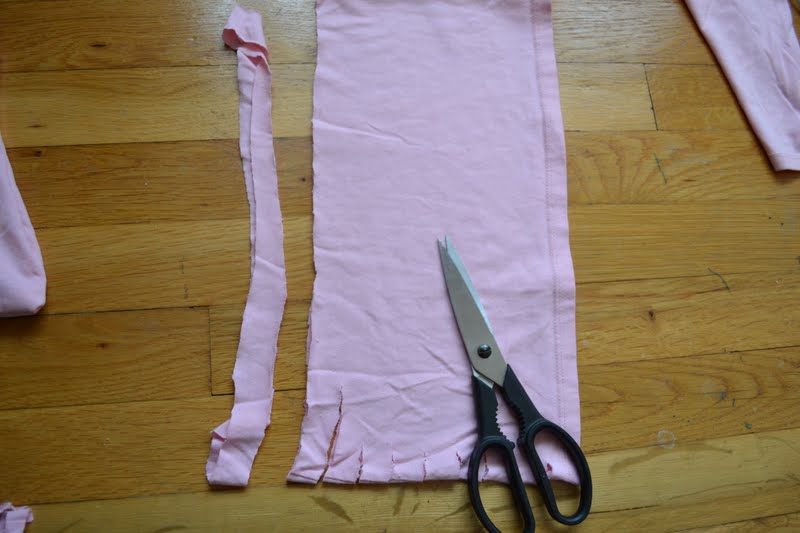
14. You have left the bottom of the blouse intact. It is from it that the handle for the handbag is to be made. We cut it into several strips.
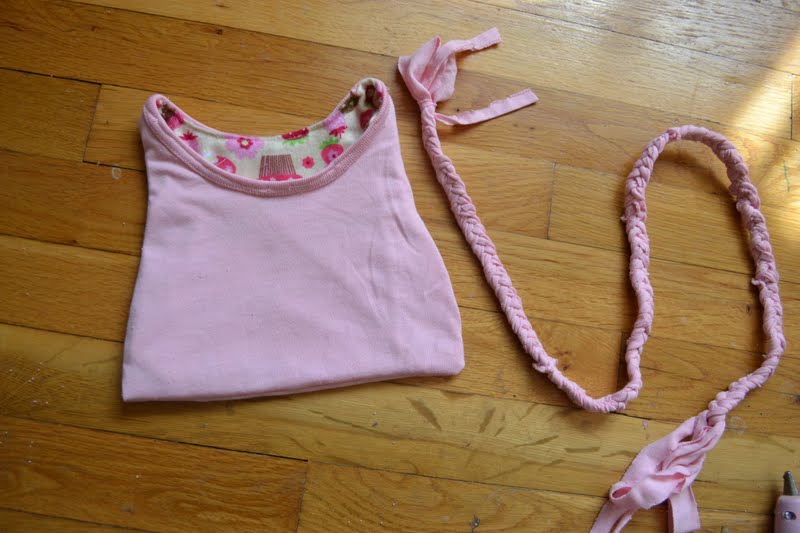
15. From the finished strips weave ordinary pigtails. The length of the braid should cover the neckline of the blouse and form handles.
16. Prepare hot glue, the handle is attached to the product with it.
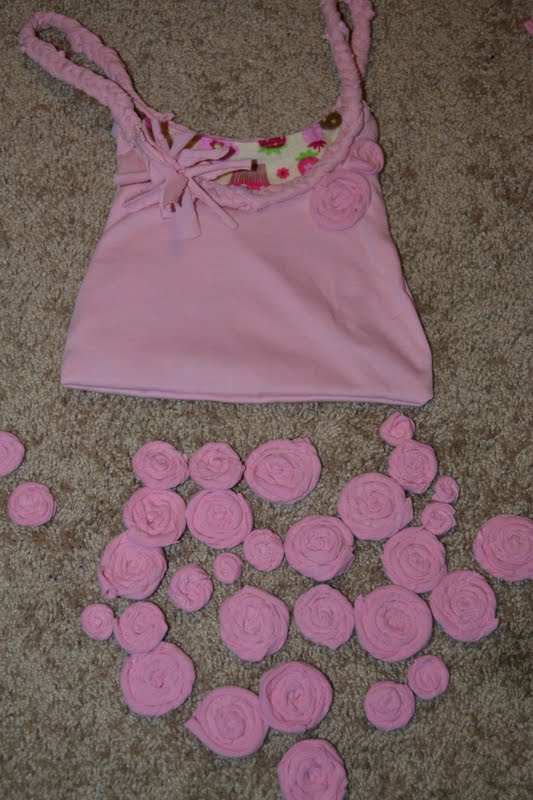
17. If you don’t want to stop there, then you can decorate handbags with flowers. To do this, take pajama pants (it will be even more interesting if they differ in shade from the handbag). Get some stripes ready.
18. Twist the strips to form fabric roses, it's even more fun if they come in different sizes.
19. Place the finished flowers over the entire surface of the handbag. Use hot glue to fix them.
Materials taken from www.cometogetherkids.com


