Beanie - a helmet for a small child. Master Class.
by 07.11.2012 10:33 7 583 views 0
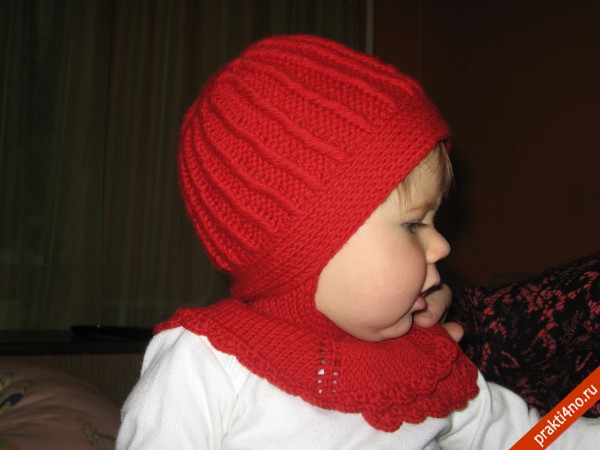
For my little granddaughter, I decided to knit a warm winter hat in the form of a helmet. A hat-helmet is the most convenient option for children under the age of 3, who strive to rip the hat off their heads, constantly spin and really don’t like scarves. It's comfortable, warm, and the neck is always closed.
However, after looking at many different models on the Web and in knitting tutorials, I came to the conclusion that I needed to find my own solution. I was not happy with the fact that most of the proposed patterns leave the child's forehead open, so I decided to knit a hat in a circle, and then move on to knitting a mantle.
I offer you my master class of knitting a hat-helmet with photos and explanations.
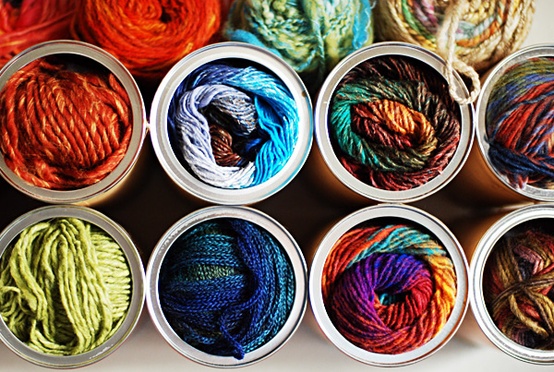
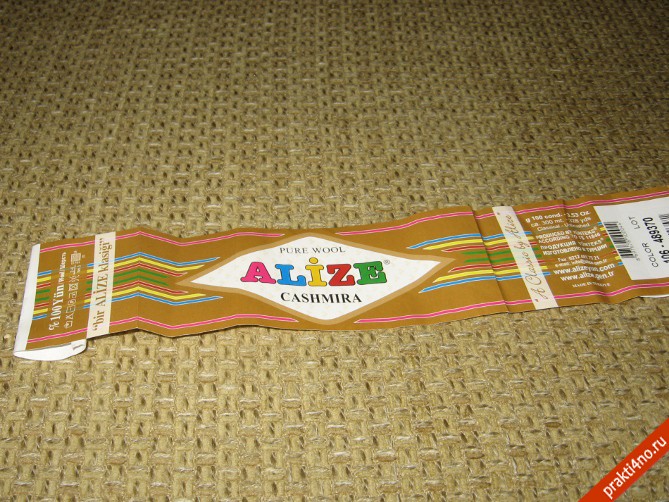
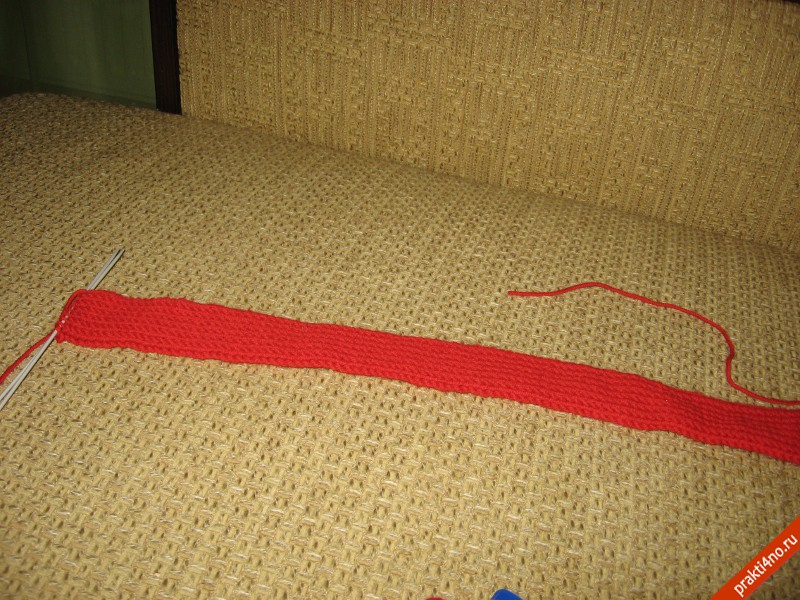
We start knitting. I used 100% wool yarn for the hat.
We collect 14 loops on the knitting needles (the number of loops should be even), the thread is single and we knit a strip with a hollow (or double) elastic band along the length equal to the girth of the child's head.
Hollow (or double) elastic is knitted as follows:
1st row: slip 1 edge, * yarn over, slip one loop and yarn over in front of the removed loop, knit one *, purl 1 edge stitch
We knit the 2nd row and the next rows as the 1st row. I got 44 cm.
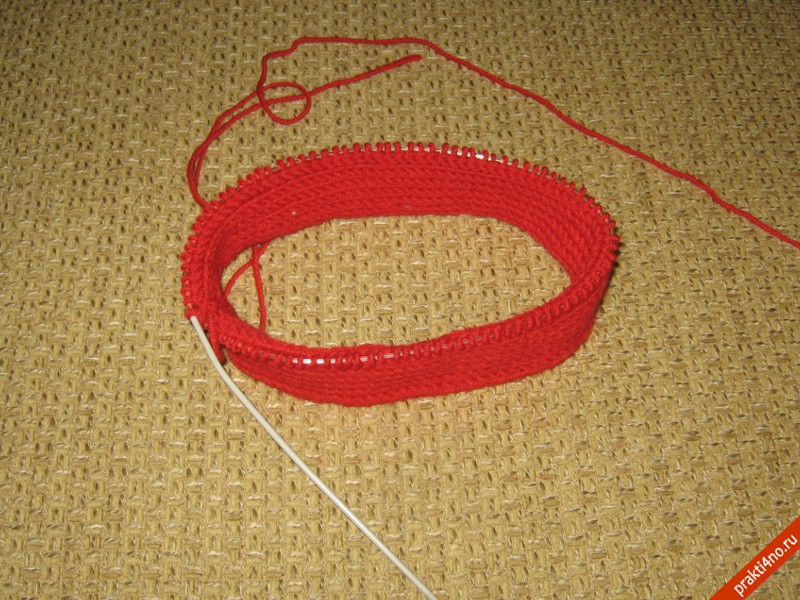
We close the loops and connect the beginning and end of the strip with a hidden seam. Got a ring. On the edge of the ring, we collect loops on circular knitting needles for knitting the main body of the cap. I already took the threads in two additions and circular needles number 2.
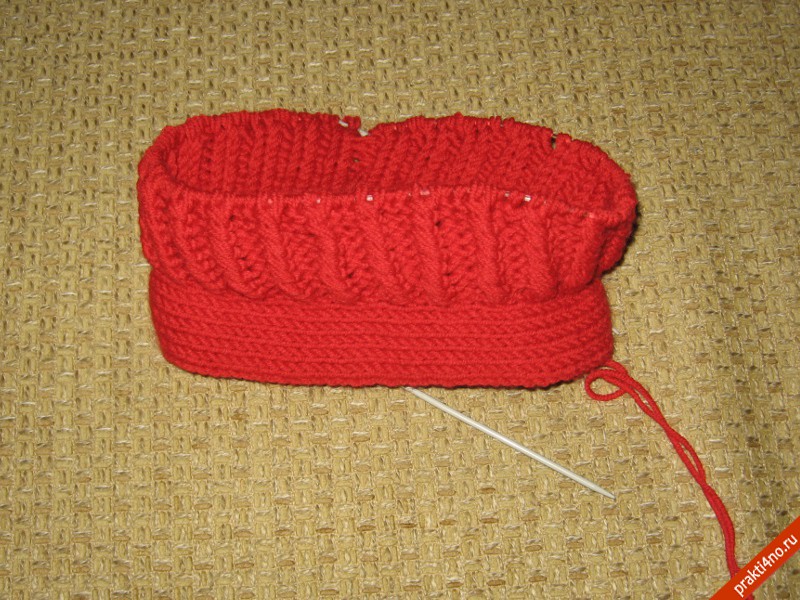
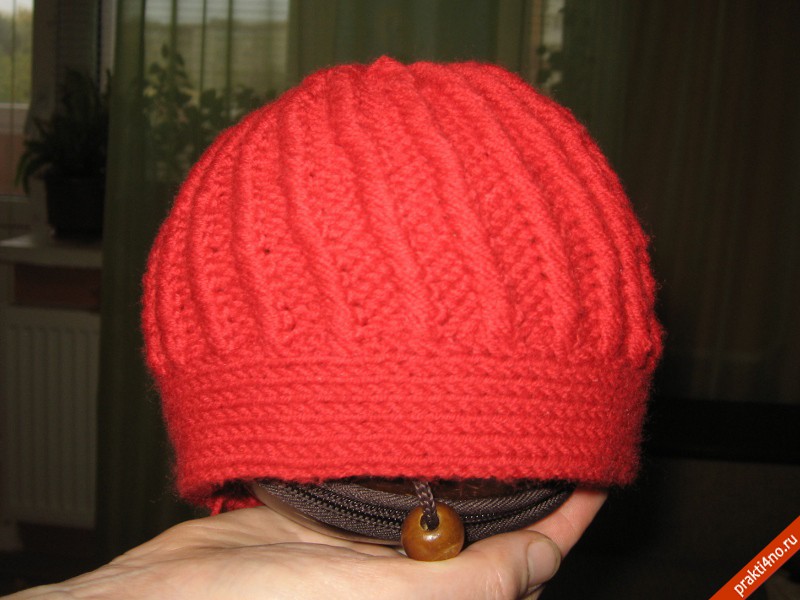
I got 96 loops in a circle. We choose a pattern for knitting. It should be noted that the hat is knitted in a circle and all rows go along the knitting face. I forgot about it and the pattern turned out to be not the one I thought about, but I did not bandage it. I have vertical bundles of two crossed facial loops on the wrong side.
This pattern is very easy to knit.
1st row: * purl 2, knit 2 * (it must be taken into account that we knit in a circle, so you need to calculate the number of loops a multiple of 4, without edge ones.)
2nd row: over the purl we knit the purl, we knit two facial ones as follows: first the second loop, leaving the first in front of the knitting needle, then we knit the first.
3rd row: we knit all the loops as they look: purl over the purl, facial over the facial.
Then repeat the 2nd and 3rd rows.
We knit in this way, see 10-12, trying on the depth of the cap over the child's head.
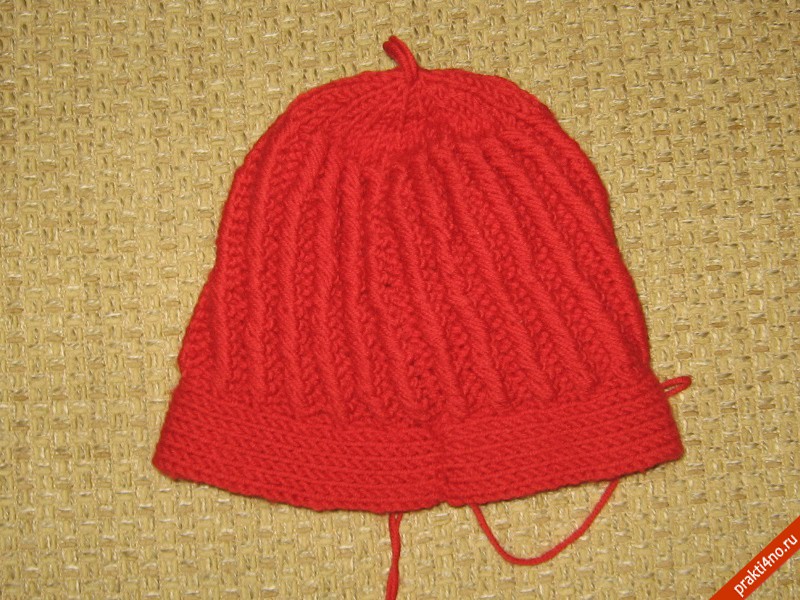
Then we proceed to the reductions.
I began to decrease smoothly, removing 8 loops in 3 front rows, knitting together two wrong loops through three knitted bundles in the first row, then in the next row two wrong loops together in the previous gap between the bundles, and one more decrease in the third row in the same way.
We knit the remaining 72 loops with front loops and in the next row we knit the entire row every two front loops together, then we knit three rows without reduction and the next row is again reduced, we knit 2 loops together. We knit again three rows without decreases. Through the loops remaining on the knitting needles, we pull the thread and pull the top of the head.
The main part of the hat is ready.
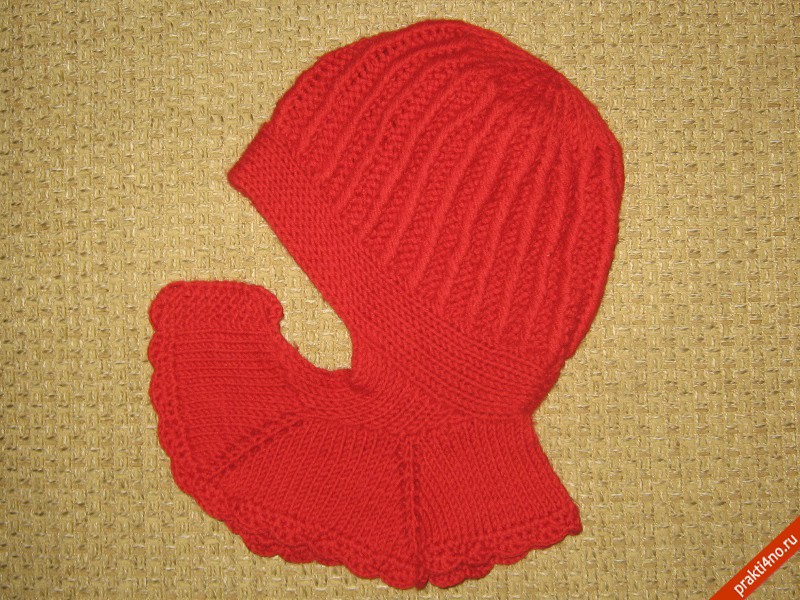
Now we start knitting the ears and shoulders.
Based on the head of the child, we determine the place where we need to start tying the ears.
We collect 20 loops with a single thread from the bottom of the ring at the location of the eyelet. We knit an ear in the form of a right triangle with a hollow elastic band. From the side of the cheek, exactly without decreases, and from the side of the back of the head, we decrease one loop in each even row, knitting together the edge and the loop following it. We knit until the end of the loops on the knitting needle.
We knit the second ear symmetrically.
Now let's start knitting the shoulder.
We collect loops for it from the long side of the ear, then the occipital part of the cap and then the long part of the next ear plus 5 loops for the fastener, we knit all the dialed loops with the wrong ones and at the end of the row we collect 5 air loops (for the second part of the fastener).
To knit the shoulder, we divide all the loops as follows:
5 sts - placket, 10 sts chest, 1 st inc, 10 sts shoulder, 1 st inc, "remaining" sts in back, 1 st in center, 10 sts shoulder, 1 st inc , 10 loops part of the chest, strap for fastening - 5 loops.
We knit the fastener with a garter stitch (all rows are facial). The rest of the loops according to the scheme:
1st row: 5 strap sts, 10 chest sts, yo, 1 knit, yo, 10 shoulder sts, yo, 1 knit, yo, knit all back sts, yo, knit 1, yo, 10 second shoulder sts , yarn over, knit 1, yarn over, 10 chest loops, 5 strap loops.
2nd row: 5 loops of the strap, 11 loops of the front chest (we knit the yarn overs of the previous row with knit ones, if you want the additions to be openwork, we knit a loop behind the front wall of the yarn, if you want tighter knitting, we knit the yarn over the back wall), yarn over, K1, yarn over, 12 shoulder sts, yarn over, knit 1, yarn over, back sts, yarn over, knit 1, yarn over, 12 shoulder sts, yarn over, knit 1, yarn over, 11 chest sts, 5 strap sts.
We knit in this way, see 5-7 (optional), close the loops freely without tightening. For beauty, you can crochet the edge of the shoulder with a shell pattern. We make a clasp.
To make the hat warm and not prick the baby's cheeks, we make a lining. I sewed fleece. Soft and warm.
Nadezhda, especially for the site knigorez.ru.


