How to make a dollhouse out of a box for girls
by 25.01.2015 10:30 11 946 views 0
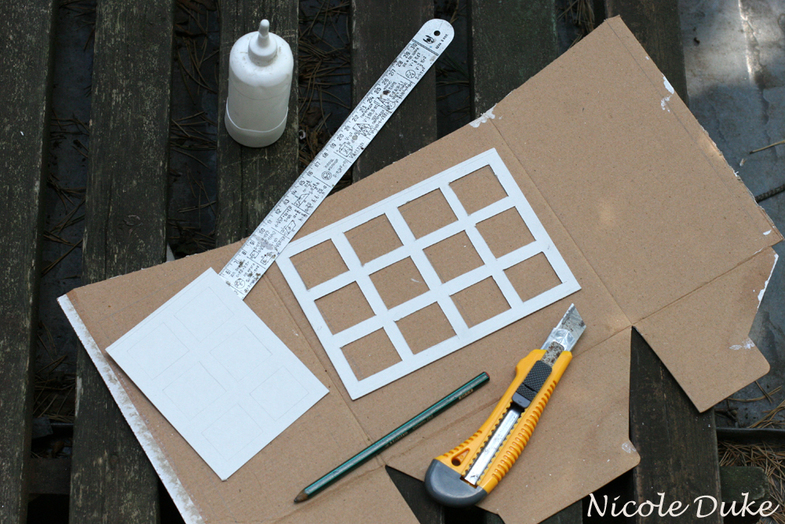
Necessary materials: a construction knife, a ruler, a pencil and an eraser, PVA glue, double-sided and ordinary adhesive tape, an adhesive pencil, corrugated cardboard of different thicknesses and colors, ordinary cardboard, colored paper, fabrics.
First you need to find a box that is spacious enough, without defects and preferably without pictures. A clean box can be left without painting, or tinted with watercolors. If there are pictures, then your point number 1 is to paint over all the details.
item number 2
Mark the game side and draw a large window on it, with 3-5 cm indents from the edge. Cut a hole.
item number 3 - 4
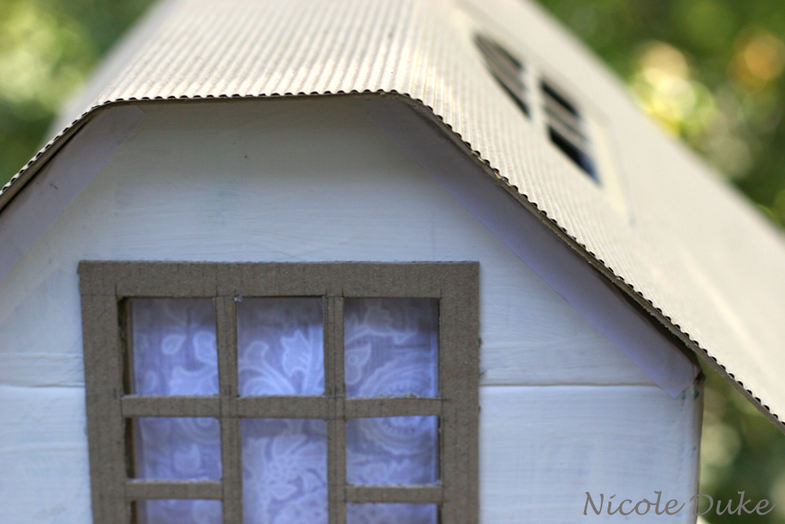
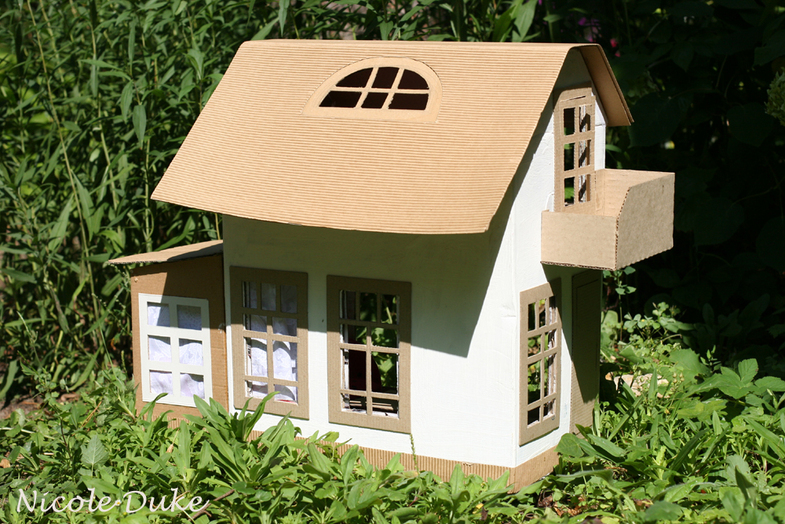
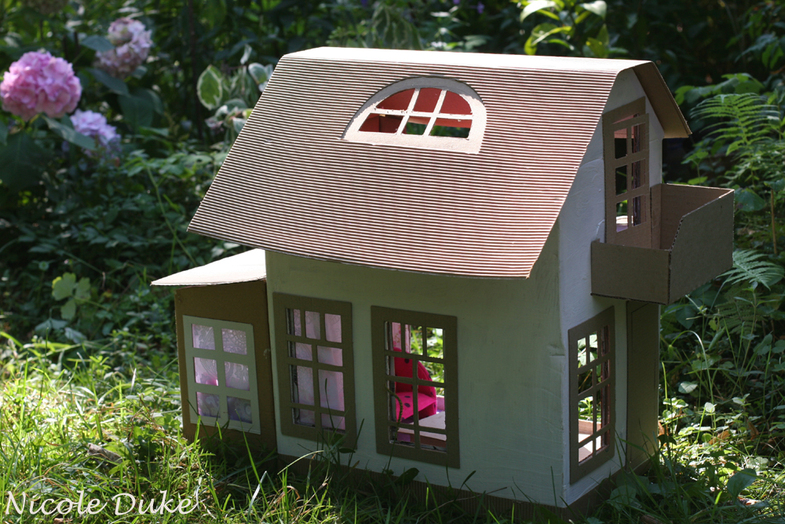
Roof slopes. To do this, we use 4 sides of the lid of our box. On the two ends we cut off the corners, from the remaining two we make slopes and glue them with adhesive tape.
We mark windows and doors, taking into account the premises that you want to place.
item number 5 - 6
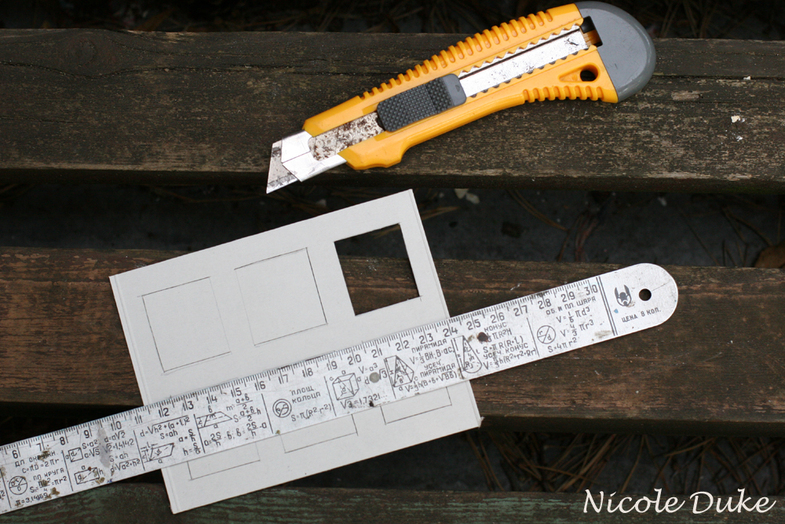
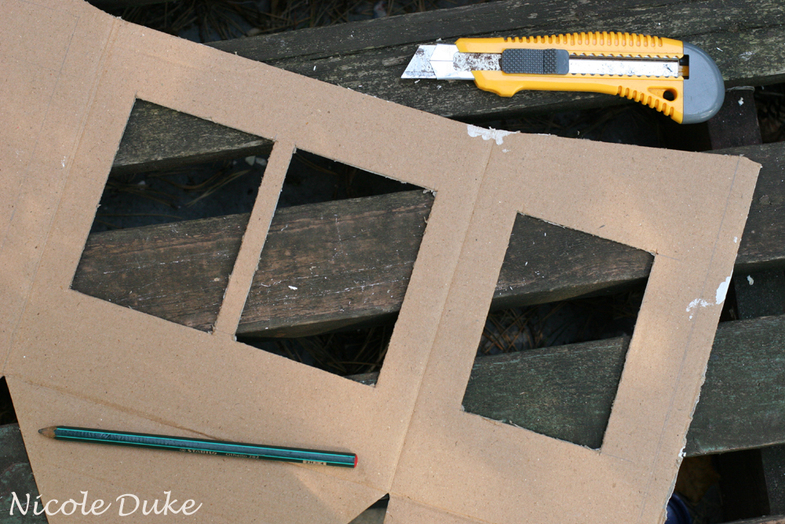
We cut out the windows according to the assembled box. Window openings can be made a couple of millimeters larger than on the platbands, then the corrugated cardboard cuts will be inside.
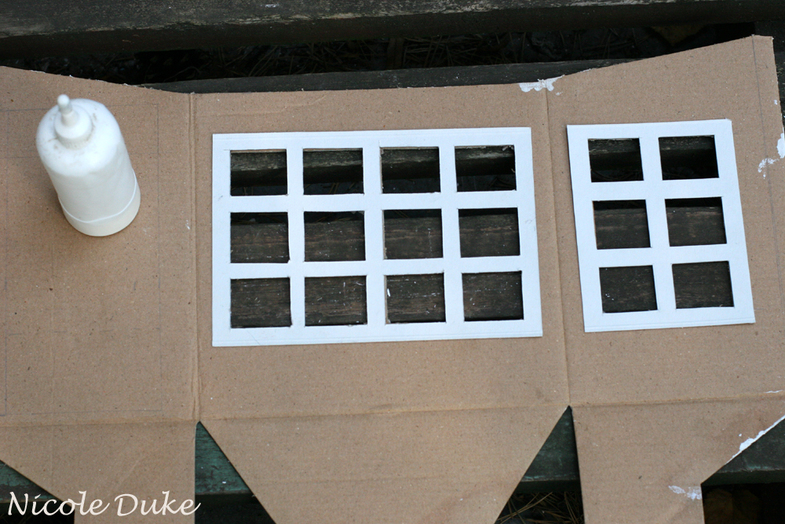
We cut out the platbands, the outer ones come with bindings, the inner ones are simply in the form of frames.
item number 7
Glue the outer casings to the box.
item number 8 - 9
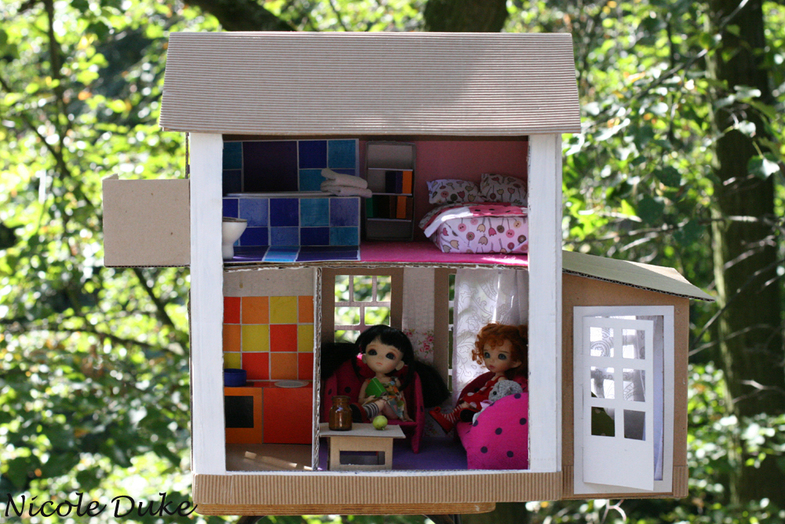
We proceed to the floor of the second floor. It can be glued with adhesive tape, or it can be put on glue if it fits tightly enough into the box. If you need a floor covering (for example, felt), we glue it immediately, before gluing the floor into the house.
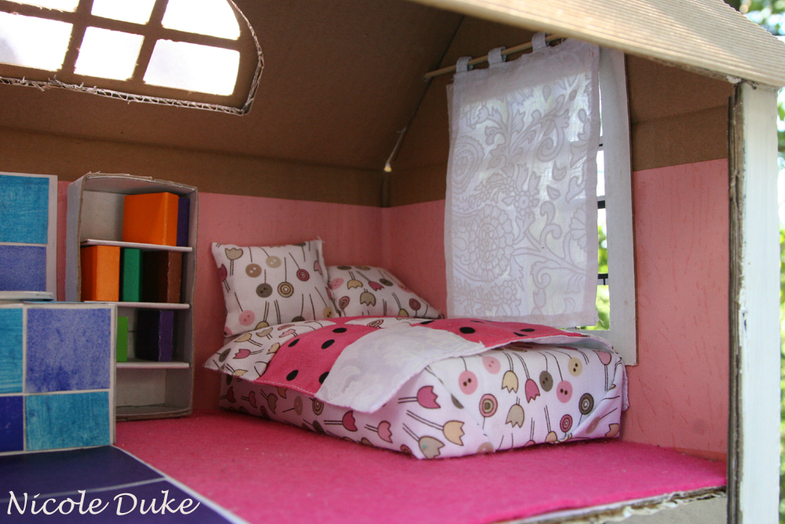
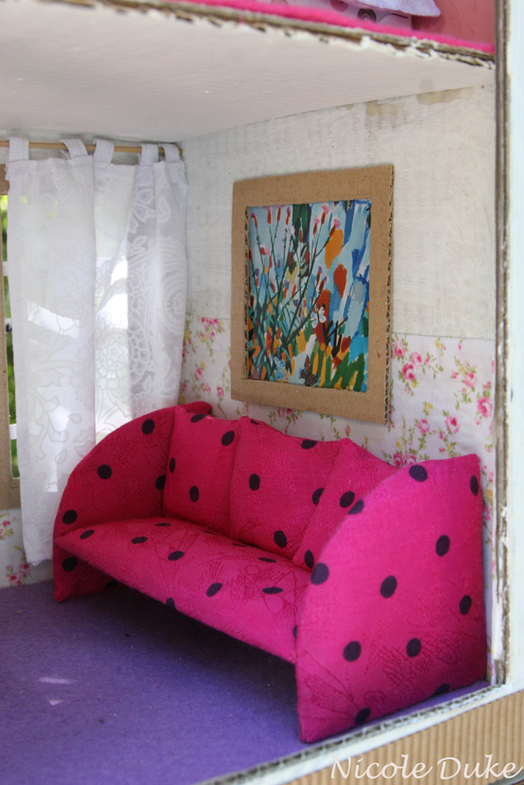
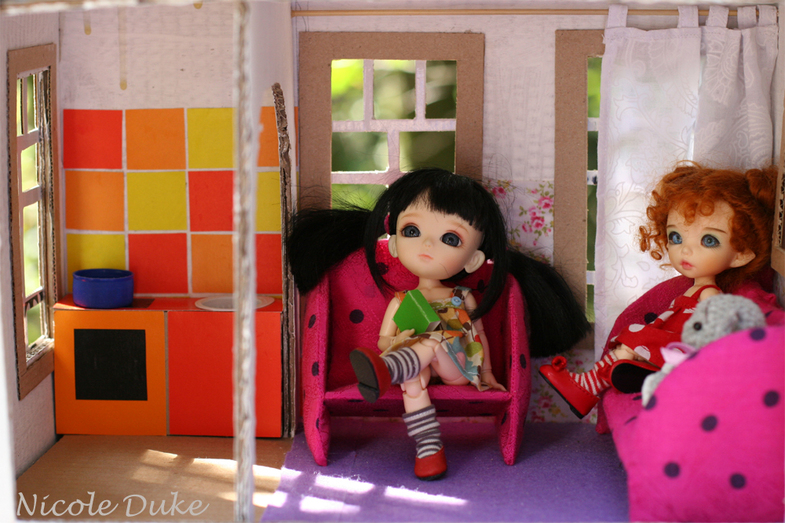
We paste over the walls of the first and second floors with wallpaper - you can use thin scrapbooking paper or fabric, like in my living room.
item number 10 - 11
After pasting the walls, we glue the inner trim.
Cut and paste room dividers.
item number 12
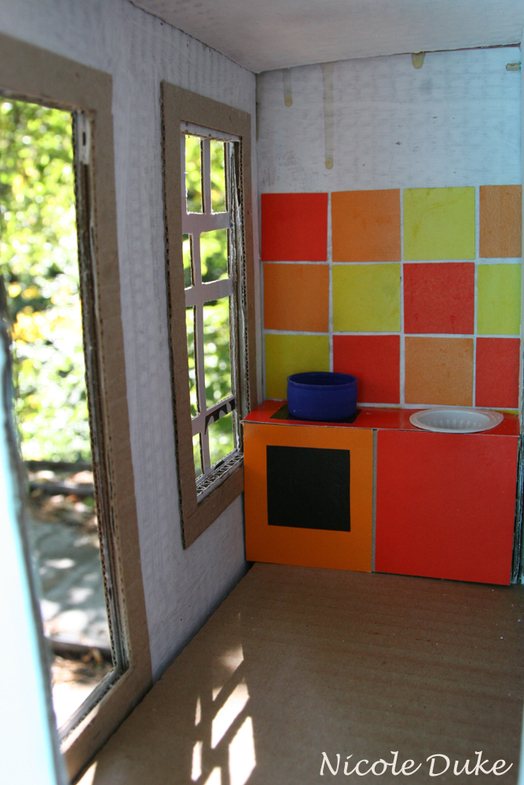
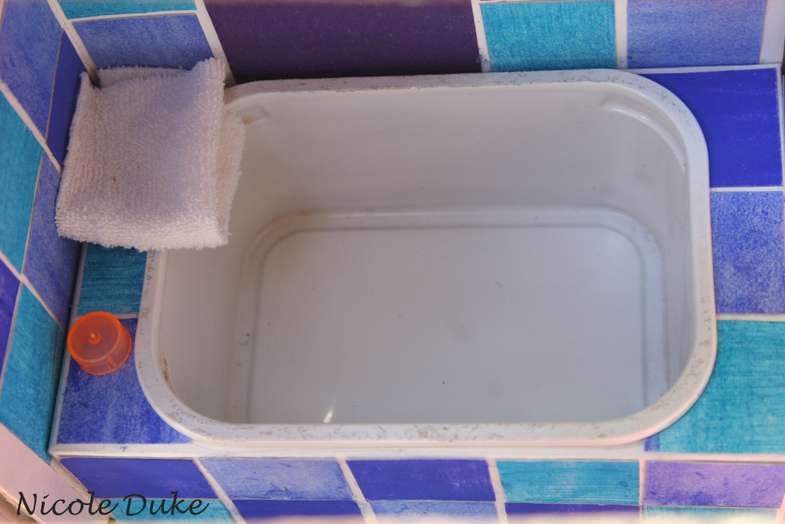
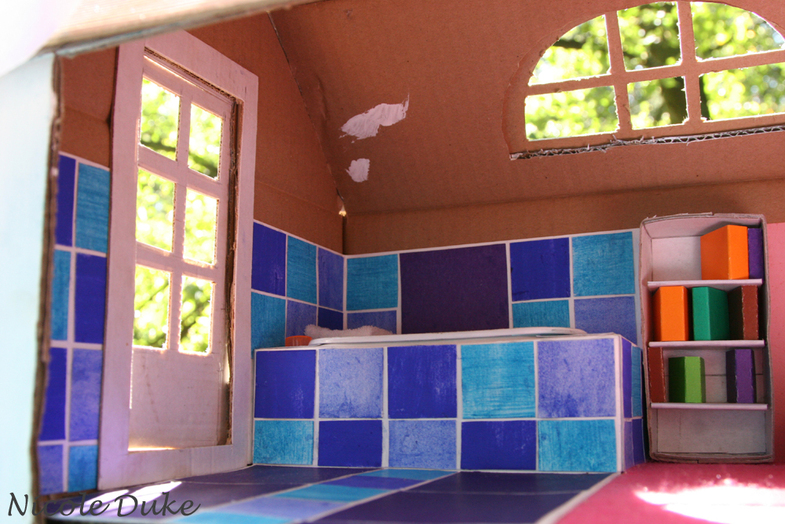
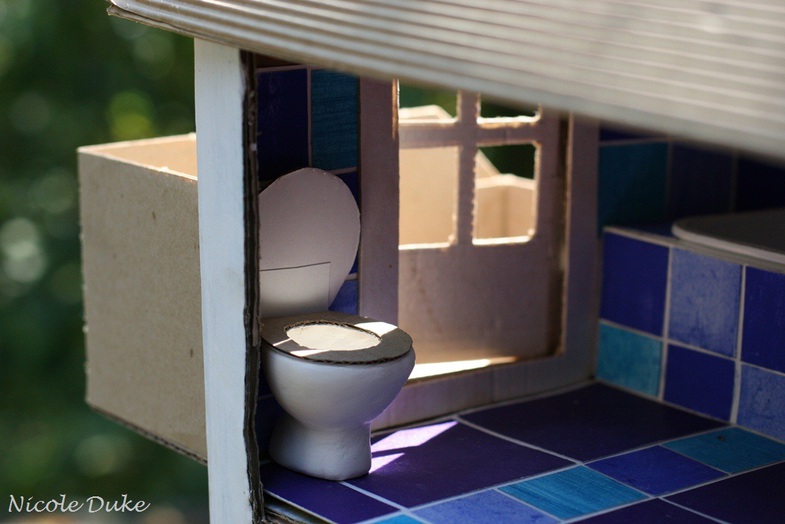
We put the bathroom in order, use a plastic oil container as a bathroom, and the walls can be pasted over with “tiles” made of colored paper. Real mosaic tiles are also on sale now, but they eat up a lot of space, so if the bathroom is planned to be small, it is better to make false paper tiles.
item number 13
The toilet bowl can be molded from plastic, the lid and seat can be cut out of cardboard. You should not do a tank and taps, just a plumbing detail.
item number 14 - 15
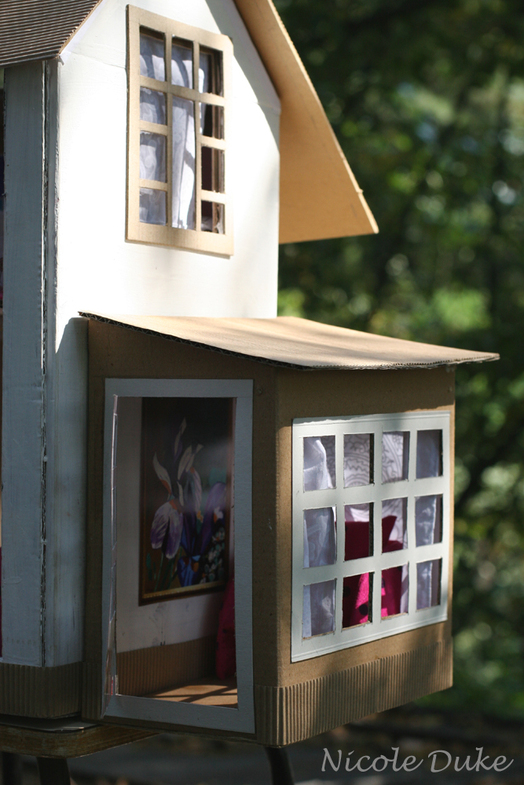
We make the roof from one-sided corrugated cardboard, it can be bought in shops for artists. From the inside it is smooth, but from the face it is corrugated. We cut out a sheet with allowances of 3-5 cm, glue it from the wrong side onto a sheet of flat cardboard, dry it under pressure so that it does not warp, after drying we bend it with a ruler. We glue the finished roof to the slopes with double-sided tape.
We sew and hang curtains. Use wooden skewers as cornices.
The finished product looks amazing:


