We make a fence from a slab: models, designs, photos
by 28.03.2016 11:07 20 808 views 0
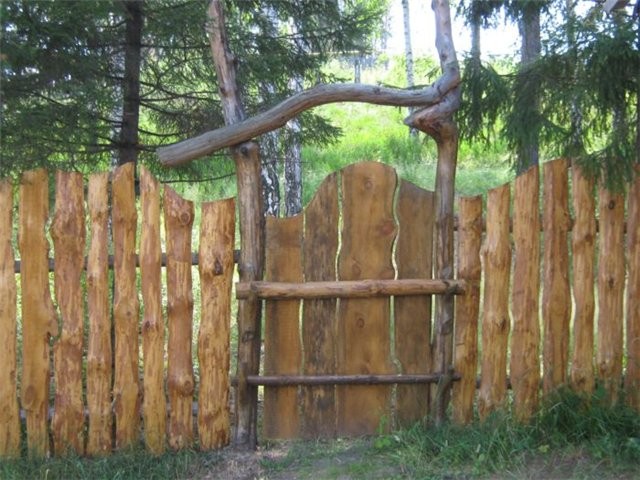
The advantages of slab as a material for a fence to the country are obvious. Compared with a concrete fence or chain-link mesh, it is distinguished by:
- availability at any sawmill and as a result - cost,
- durability (with proper antiseptic treatment), unlike the mesh, which rust will eat in a couple of years,
- ease of installation,
- environmental friendliness, naturalness and harmony with the country landscape.
The croaker is in no way inferior to boards and other wood in its properties, its only drawback is its appearance. In our article, we will tell you how to competently turn it into a plus 🙂 With the help of decor, even such a simple structure can become a real masterpiece.
How to make a slab fence with your own hands
1. View the slab, sort. It is desirable that the dies fit in a height of 20-25 cm.
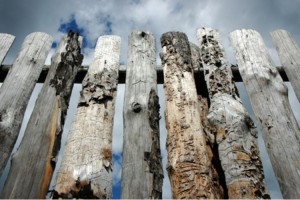
2. Remove the bark from the selected plates. If a bark beetle settles in a tree, it will easily destroy it in a couple of years. The bark can be removed with a sharp shovel, ax or scraper.
3. Next, you need to sand the slab and cover with a layer of antiseptic for durability.
4. The next stage (even more responsible) is the preparation of the pillars of the future fence.
Do you trust metal? Great! As metal poles, you can take pipes 70-80 mm in diameter (with a wall thickness of more than 3 mm).
But such a fence will be more difficult to make due to the heterogeneous material. It is still necessary to weld plates to the pipes, on which wooden beams will be horizontally attached, and cover them with protective mastic against corrosion.
Wooden poles (oak, larch, pine) are also great for your needs. The diameter of the trunk of the pillars must be at least 20 cm, and the length - the height of the fence + 60 cm. Remove the bark, burn the pillar, cover it with protective agents - water-repellent, mold, hot resin, drying oil or varnish - this will protect the part of the pillar located in the ground from rotting . You can use roofing material - this will improve the waterproofing properties.
5. Digging in pillars.
It all depends on what soil the fence will stand on. If it is loam, then the pillars can be hammered directly into the ground into holes previously drilled with a drill. Borrow a drill from a friend of a fisherman and make a 50-60 cm hole. Next, drive the pole into the ground with a sledgehammer, placing a flat board on the end.
If sand or black earth predominates in the summer cottage, then under each pillar you dig a hole 60 cm deep and 2 times as wide as the diameter of the pillar. Lay out the bottom of the pit with a sand cushion 10-20 cm high (crushed stone / gravel + sand). Tamp everything and make a spill. Cover the installed pole with gravel around the perimeter, tamp. After that, fill with cement mortar. You can proceed to the next stage in a couple of days - after complete hardening.
Before concreting, do not forget to check if the post is vertical.
6. Fastening the slab.
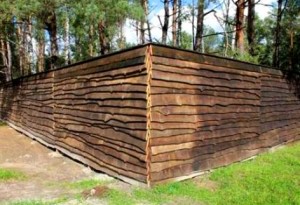
It can be nailed both horizontally and vertically. It all depends on your taste preferences. Since the material is not homogeneous, it can be installed either leaving gaps or overlapping, creating a solid wall.
In order to nail the slab horizontally, a beam is attached to the support posts along the entire length, then a slab is attached to it with the help of self-tapping screws or nails. It is preferable to use nails 150 lubricated with drying oil for this. It is difficult to fit butt, overlap at least 2 cm, the tree will dry out and lose size.
Vertical sheathing is done differently. First you need to mount the logs on which it will be mounted.
You can use a slab, it is sawn lengthwise and fixed to the runs with the convex side inward. Between the shtaketins, gaps of 4-5 cm are left, subsequently they are closed with the rest of the croaker, securing it with the convex side out.
All of the above recommendations apply equally to unedged boards.
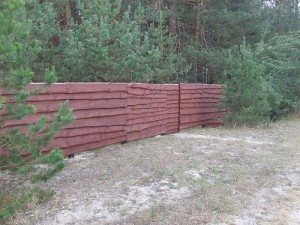
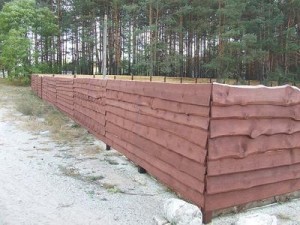
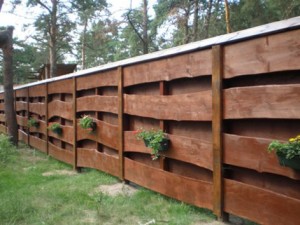
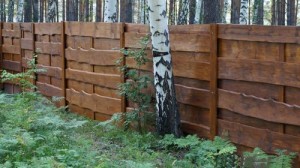
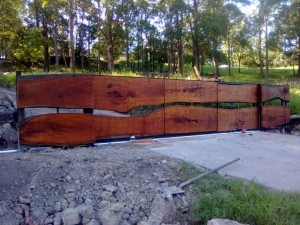
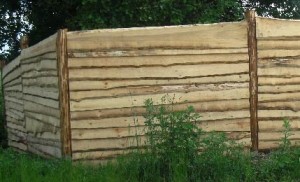
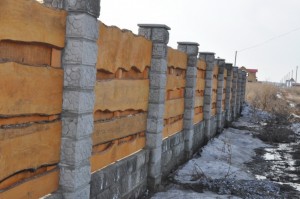
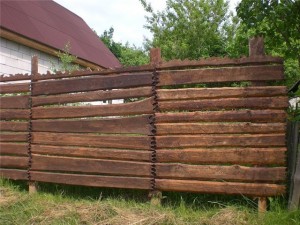
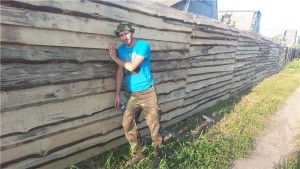
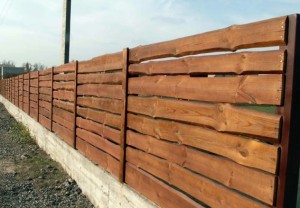
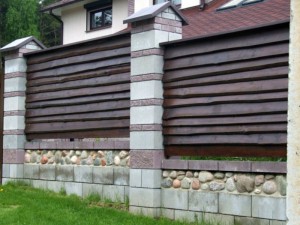
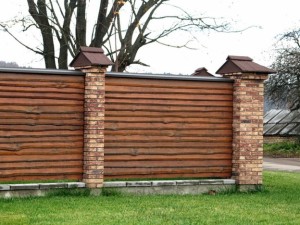
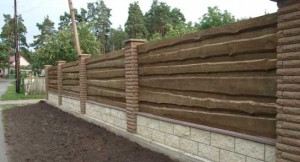
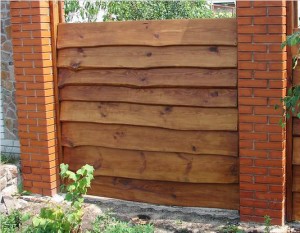
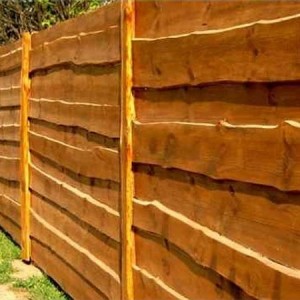
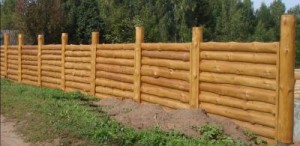
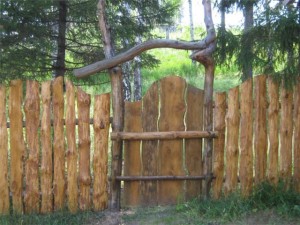
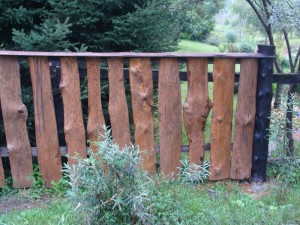
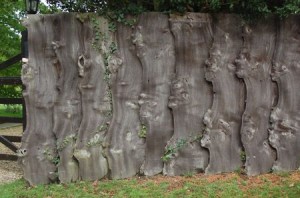
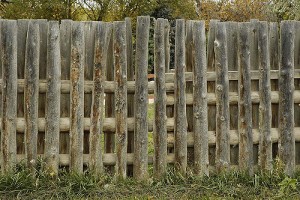
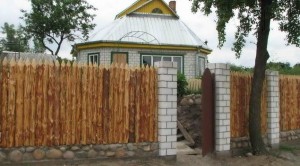
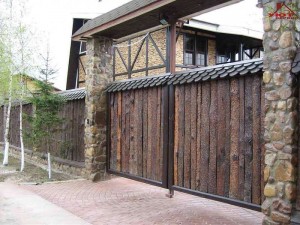
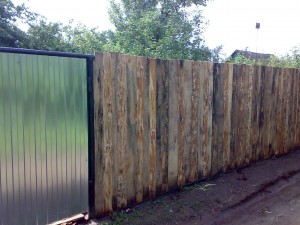
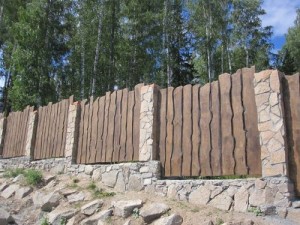
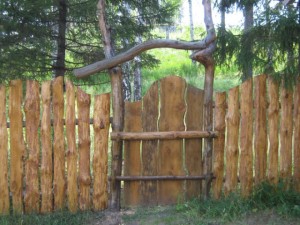
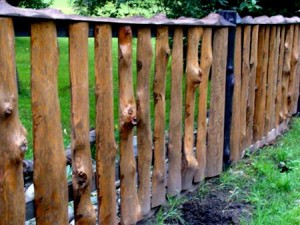
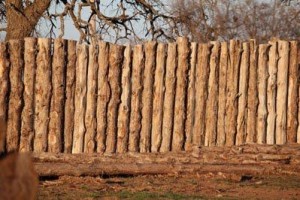
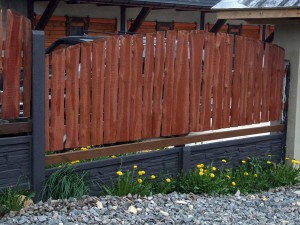
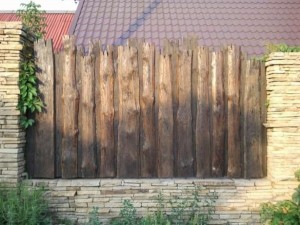
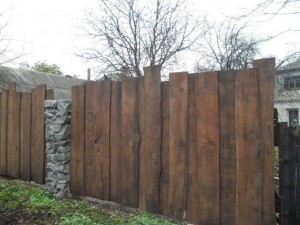
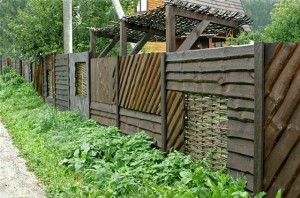
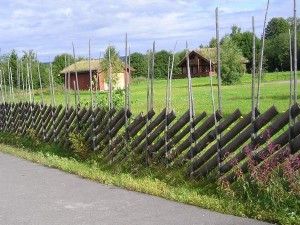
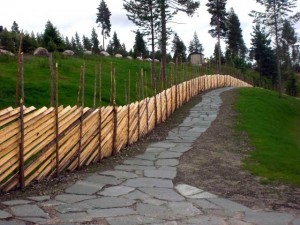
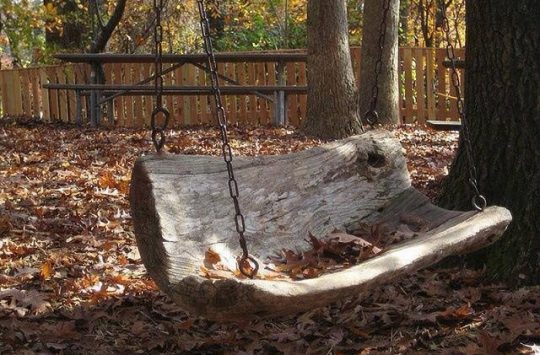
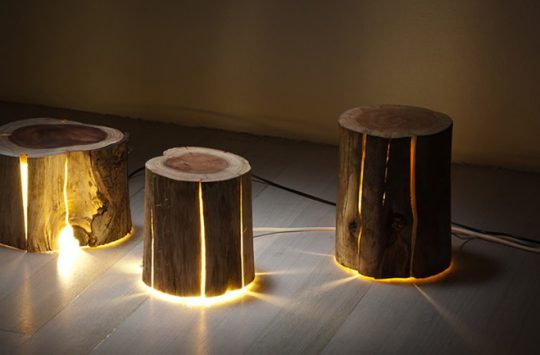
Look at the photos of finished slab fences and unedged boards and choose the one that suits you best. In some photos, it’s not quite a slab, but the principles for installing such fences are very similar.
Improving the appearance of such a "modest" fence is easy - paint it. You can not mask the material, but on the contrary, emphasize its natural texture - glazing paint will do this best. It will add shine and provide additional protection.
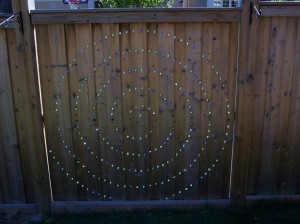
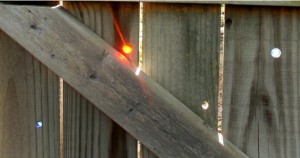
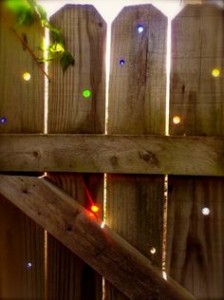
You can use marble glass and give your fence a charming effect.
Andrey Krasnov, especially for http://knigorez.ru

