DIY gift wrapping
by 06.09.2012 08:06 4 575 views 0
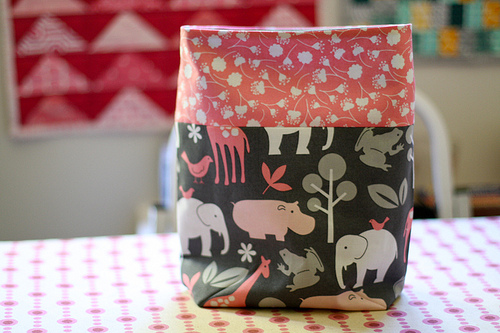
Holidays come one after another, and the question arises of how to present a gift to a dear person. Of course, in a festive package that you can make with your own hands. Consider in more detail the packaging in the form of a small handbag.
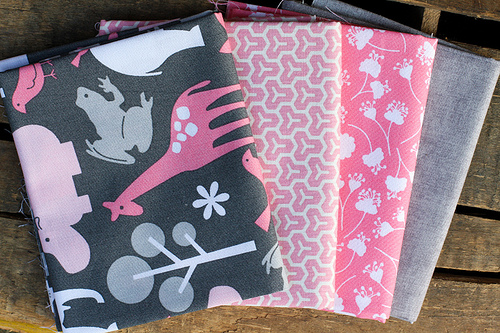
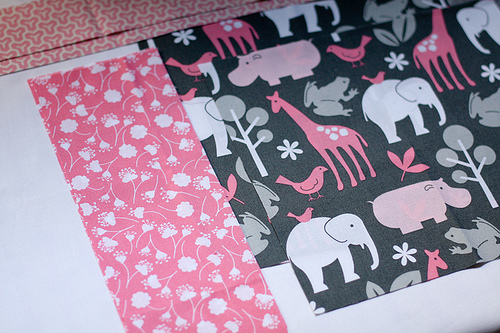
Initially, you should choose the fabric, as for me, this is the most enjoyable part of the process. In this case, the fabric with animal print is chosen. Bright fabric will add spice and festivity.
Materials:
- 3 thick pieces of fabric,
- 2 ribbons or a piece of fabric for sewing ropes,
- matching threads
And:
- big pin
- pen,
- ruler,
- scissors,
sewing machine.
The size of the package depends on personal preference, the chosen gift and the fabric available. The approximate size of the handbag in the photo is 10 inches (25.4 cm) high and 7 inches (17.78 cm) wide.
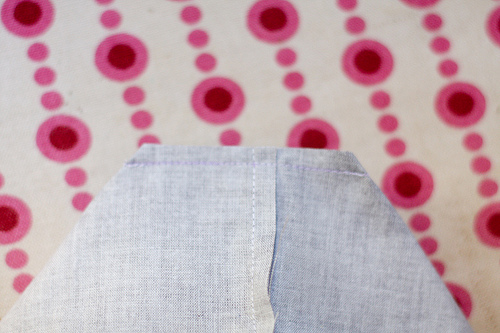
Attach the two outer parts, which is the printed fabric. When doing this, make sure that the even position of the print is maintained. In this case, the base of the fabric to the base. If you are using a plain fabric, then this is not of particular importance. The main thing is that the picture on the fabric looks the same on both sides of the bag.
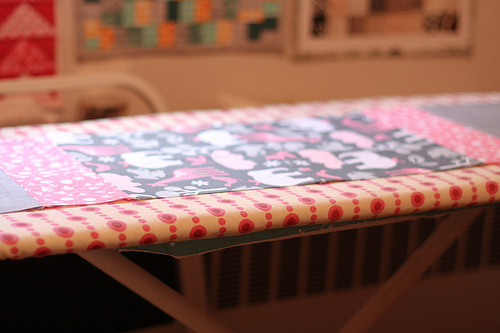
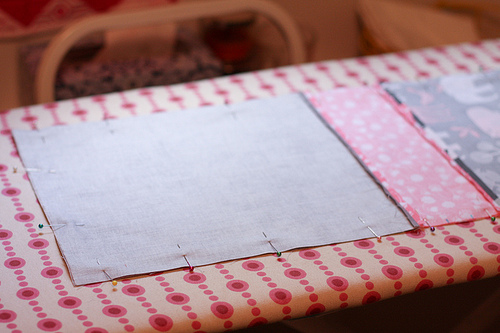
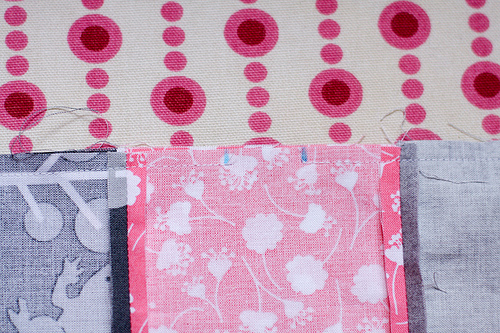
Lay out your outer and inner parts as in the photo until a continuous long strip forms. The stripe starts with the inside of the fabric, then the join strip, then the outside, another join strip, and finally the last inside. Sew all of your pieces together to make one long piece of fabric.
Fold the stitched long strip in half, right side in. Stitch along the edges of the fabric, leaving open pieces in the seam at 1.25 inches (3.17 cm) and 2.25 inches (5.71 cm). This will create open holes for the ribbon tie, which will be discussed in a moment.
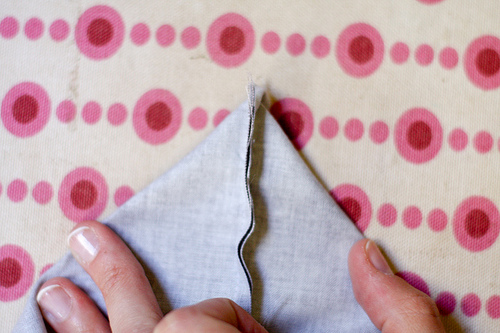
Now we need to create the flat base of the bag. First, iron the folded edge to create a crease (the seam where the two outer pieces meet). Grab one corner of your product, no matter where you start, we will handle all four corners. Use your fingers to form a triangle as shown below.
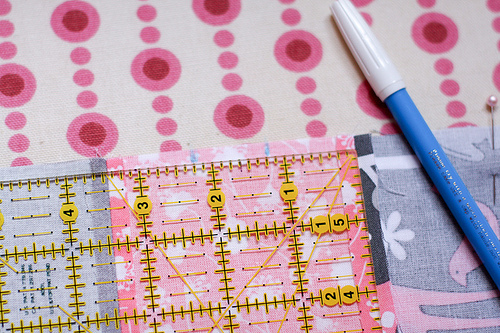
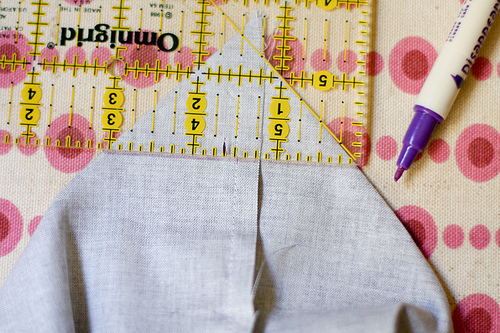
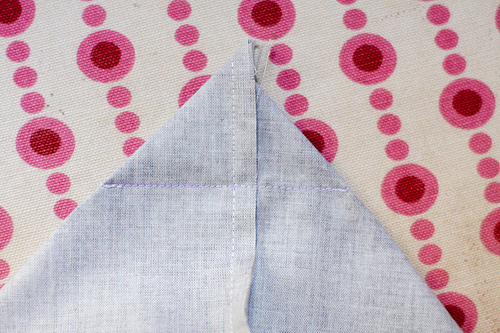
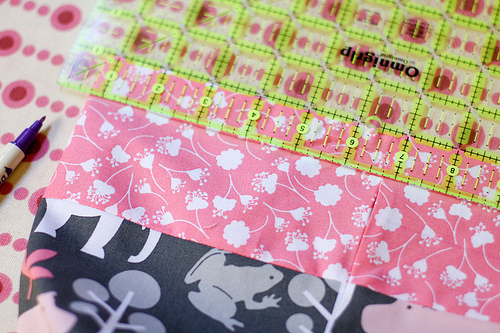
With a ruler, measure along the seam 1.5 inches (3.81 cm) from the corner, you will have a long line that you can draw with a marker. Next, sew a stitch along this line and cut off the corner, leaving a small edge to protect the seam. Repeat this for the three remaining corners (printed outer and inner, for a total of four corners).
It's time to turn your work right side out! We put the inner part into the product exactly along the connection strip. The seam of the connection strip with the inside should be ironed, then the top of the handbag will be more even and elegant. The product is almost ready. It already looks like a bag.
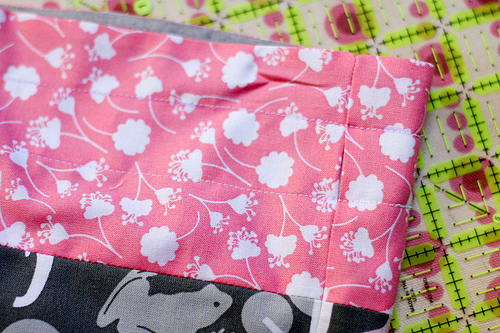
Take your marker and ruler again. Now let's start with the holes for the ribbon. On both sides, find open areas that you left earlier specifically for this purpose. It is necessary to sew the line completely around the entire product, namely above and below the open area. Measure 1 inch (2.54 cm) and 2 inches (5.08 cm) from the top, depending on the size of the bag. At this level, the ribbon-tie will pass. When you're done, two lines of stitch will go all the way around the bag.
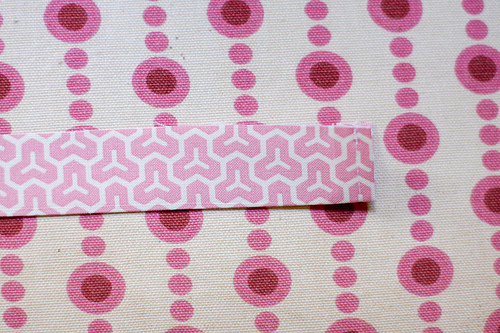
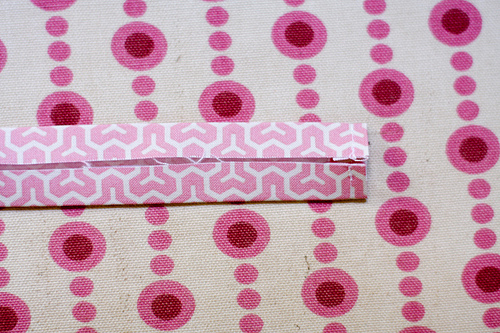
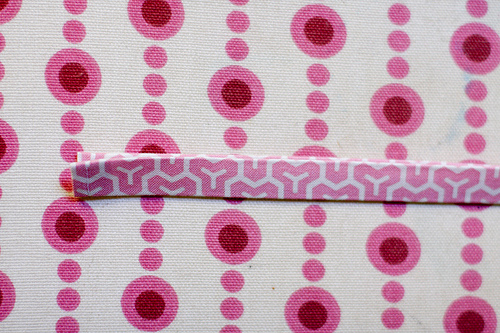
Now it's time to do the rope. You can take the finished tape, but in the absence of such, we will make it with our own hands. Take two strips of fabric. We process the edges on the narrow side of the fabric on the sewing machine, and then fold it in half and bend the edges inward, make a stitch along the open edge. Repeat with the other strip. Clearly shown in the photographs.
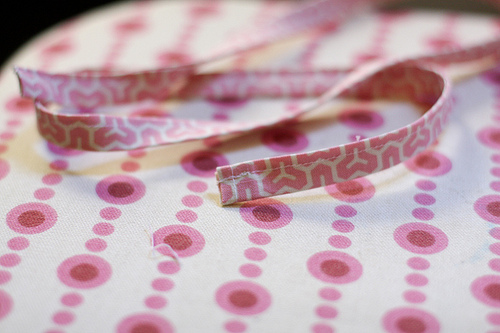
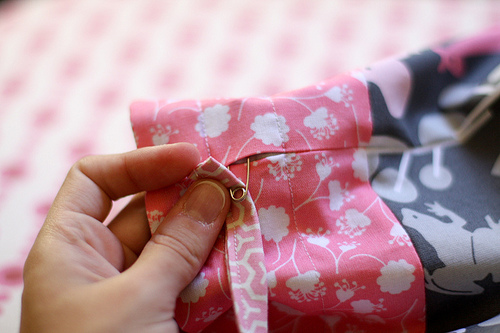
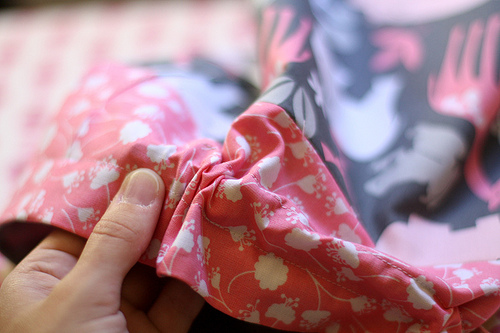
A few movements, and neat ribbons are ready to be inserted into our product. For this we need an ordinary pin. Fasten it to one end of the tape and insert it into the hole prepared in advance. Continue moving the pin until it is on the other side, i.e. will go half way.
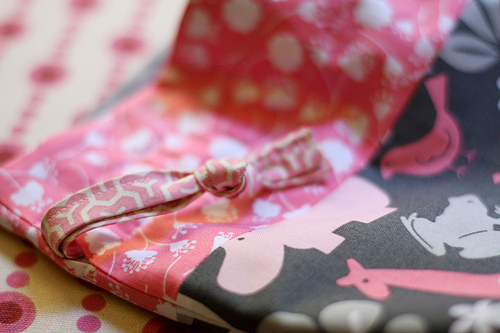
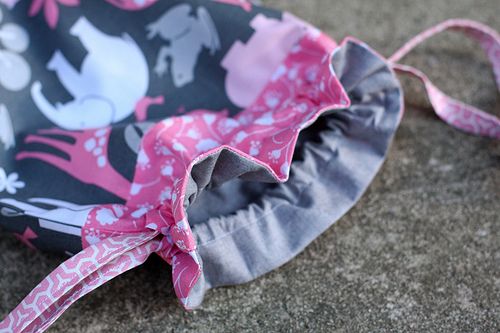
Repeat the manipulation on the other side. It remains only to align the ends of the tape and tie them in pairs. Just tie them in a tight knot as close to the ends as possible.
Here! The original handmade gift bag is ready.
Used site materials http://www.incolororder.com/2011/10/lined-drawstring-bag-tutorial.html


